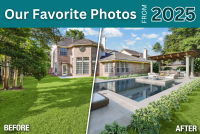
3 Simple Tips for Stunning DIY Listing Photos
About the Author: Alex Schnell
Sometimes professional photography isn’t in the cards for real estate listings. It might be a challenge to coordinate vendors, especially during a rise in COVID-19 cases. Or maybe the home is simply in a hot market, which means a listing has to happen quickly. In some cases, taking photos with your camera or even a smartphone is the best and fastest way to make something happen. Before you begin, here are three simple tips to help you take stunning DIY listing photos.
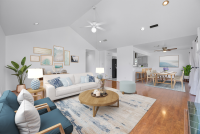
Tip #1: Less is More
For real estate photos, less is always more. That means less furniture, fewer personal items, and no clutter. Before you take pictures, see what you can physically edit out of the room. Remove oversized pieces of furniture, clean up the space, and take down family photos or personal décor. This neutralizes the room so potential buyers can see their lives, not the lives of the people who live there.
If you’re unable to remove clutter, an editing service can help you. For only $8 per image, digitally remove clutter from countertops, cabinets, tables, and more.
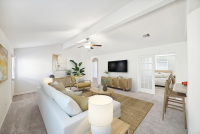
Tip #2: Lighting is Everything
We all know lighting makes a difference. Think about when you take a selfie or a photo for social media. You know that shadows don’t do anything to enhance the image. Turn on all the lights, including lamps, to help shed as much light on the room as possible.
For photos that still don’t look crisp enough, work with an editing company to correct lighting in post-production. A bargain at $1.50 per image, you can’t afford not to.
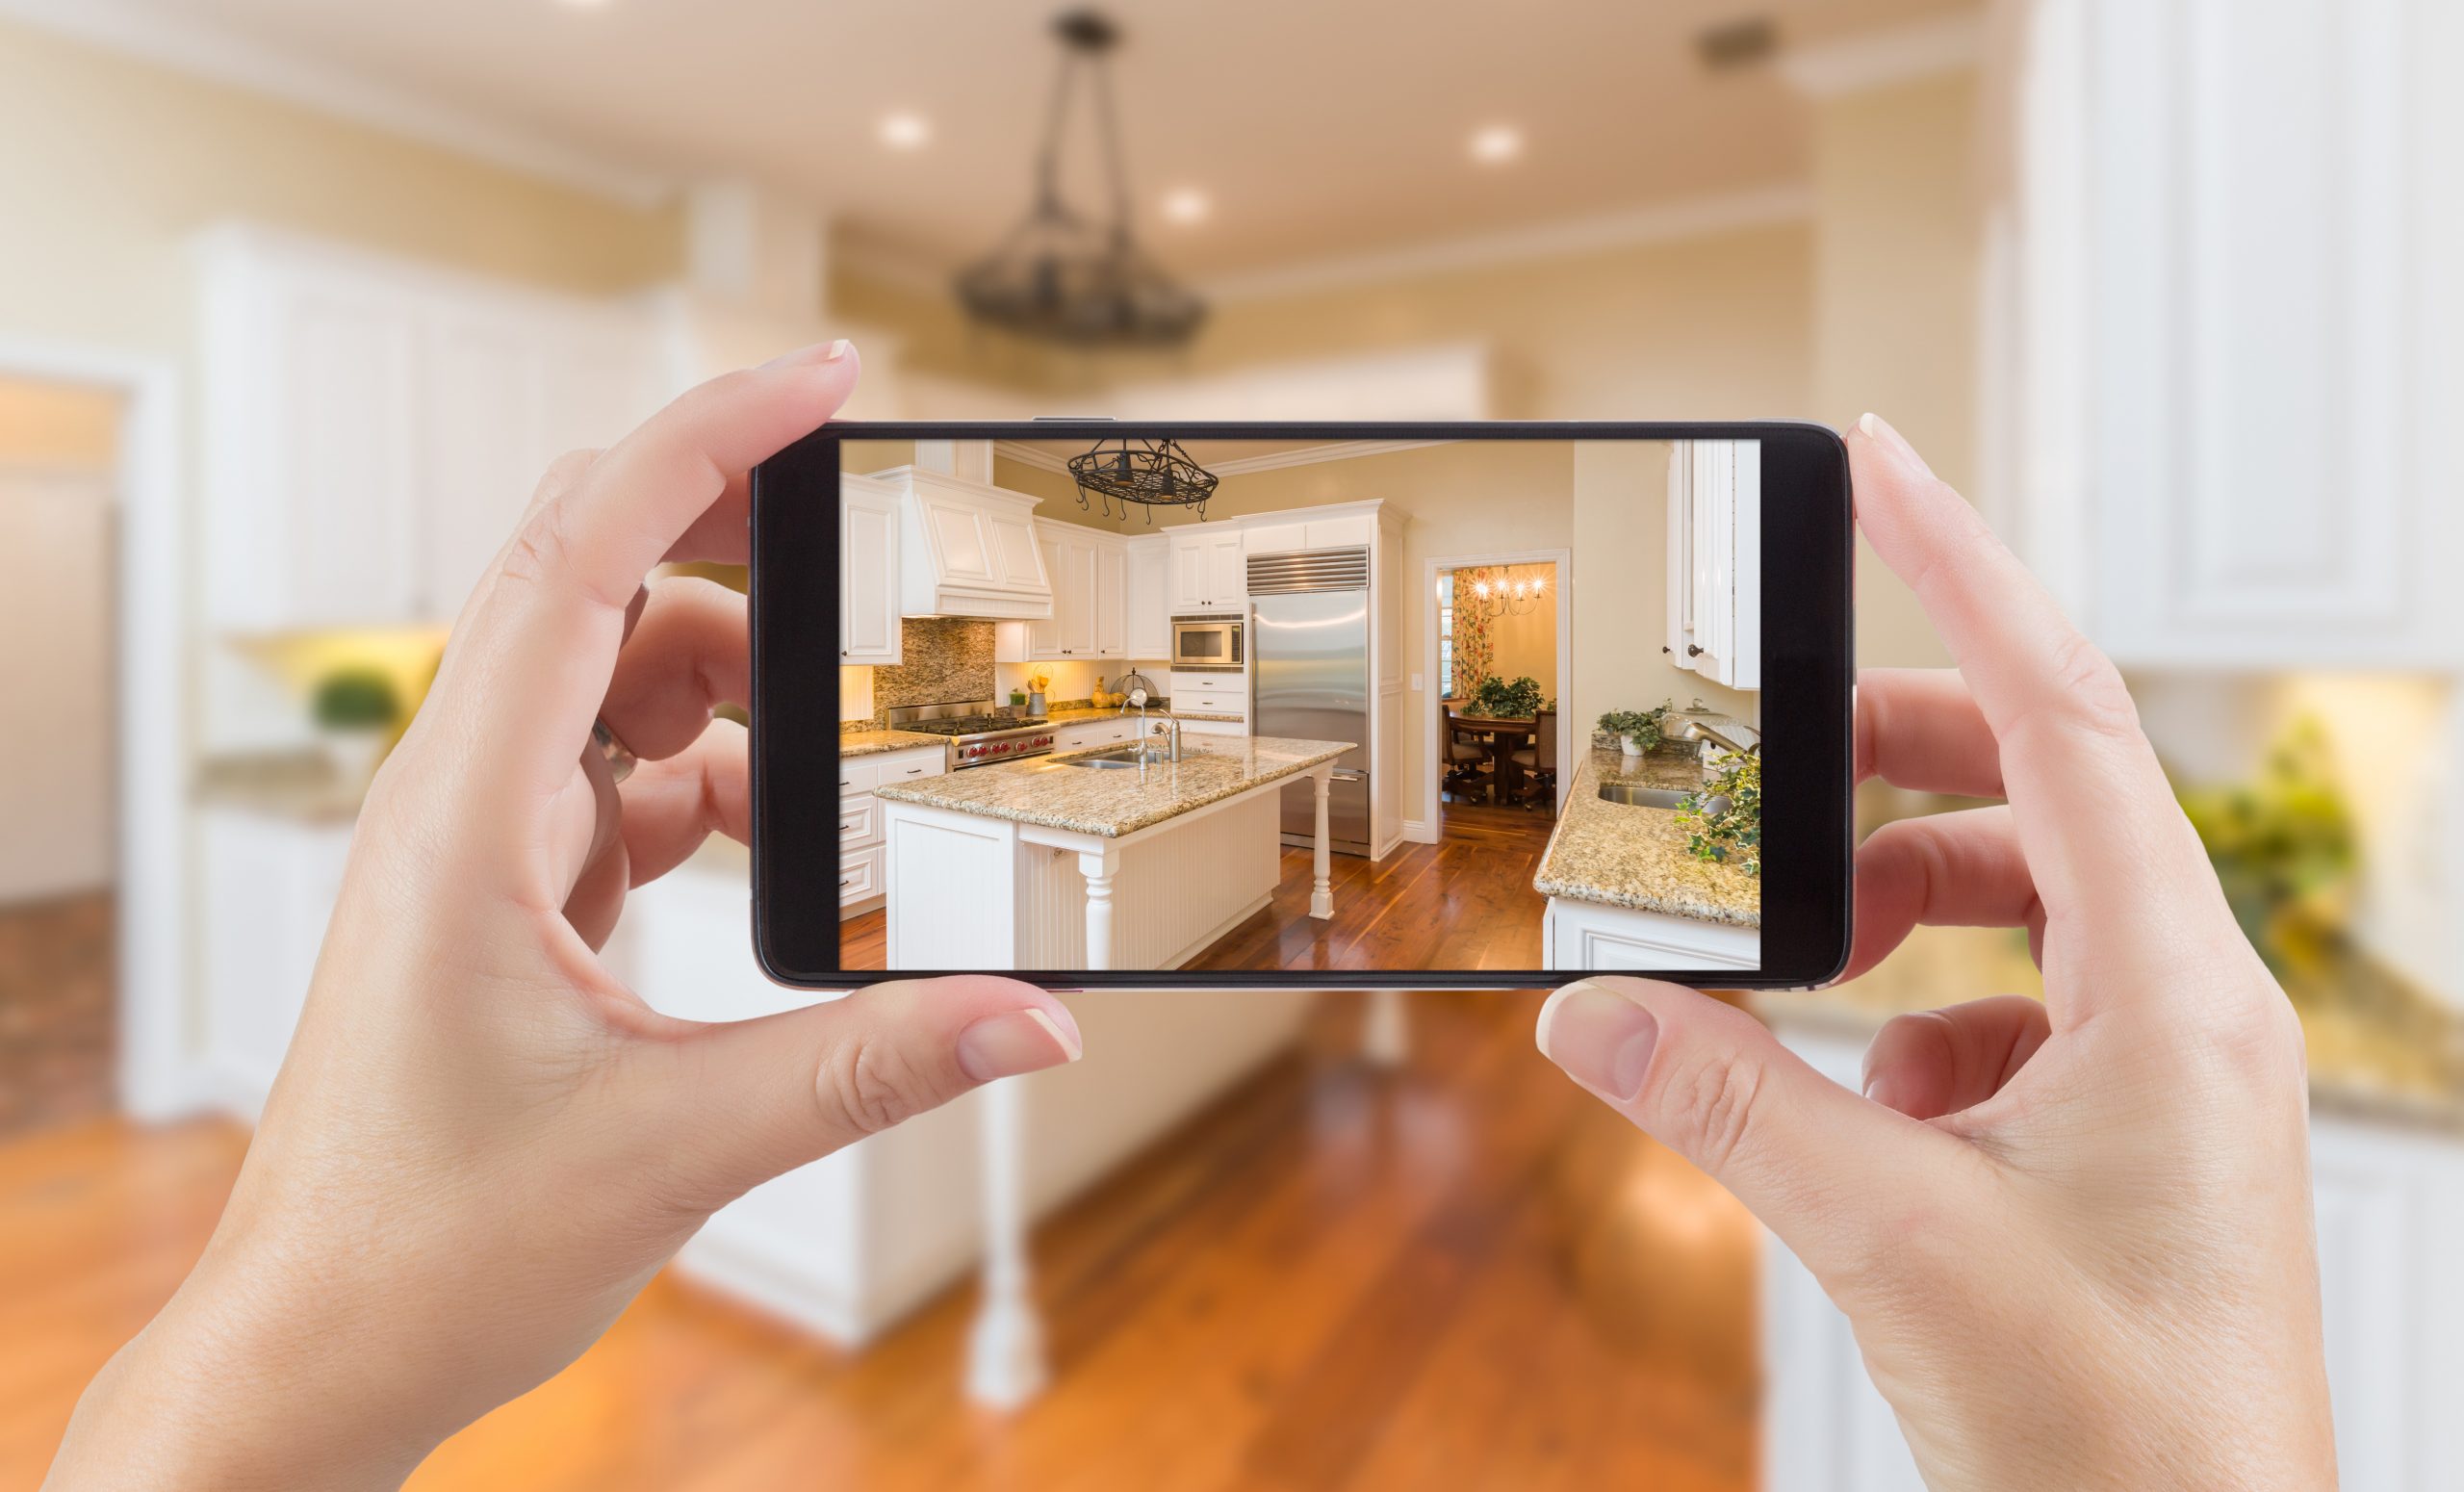
Tip #3: Use a Wide-Angle Lens
Sure, it might be a lot to ask that you have access to a professional camera with a wide-angle lens, but it does make all the difference. With the right lens, you can get as much of the room in a single shot and give people a sense of perspective and size. There is good news, too. The newest versions of the iPhone offer this as a part of their hardware and iOS.
To achieve this look, once you open the camera in the iPhone 11 or 12 (or brand new 13!), you’ll see settings just above or next to the shutter button. Press the “.5” to switch to the wide-angle.
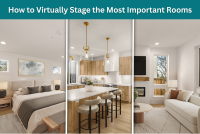
Even if you DIY your listing photos, it never hurts to make sure they’re still putting their best foot forward. With services such as virtual staging, basic photo editing, clutter removal, aerial spotlight, or even single-property websites, partnering with an editing company such as Square Foot Productions will help you provide the best final product for your real estate clients.
Contact Square Foot Productions to learn more about these editing services.